Tired of skin that feels less “silky smooth” and more “rough around the edges”? Dreaming of a spa day but your budget is screaming “staycation”? What if I told you that luxurious, glowing skin and serious self-care vibes are just a few pantry staples away? Get ready to ditch the dullness and dive into the most divine DIY project: your very own Himalayan Salt Bath Scrub.
Why Himalayan Salt is Your Skin’s New BFF
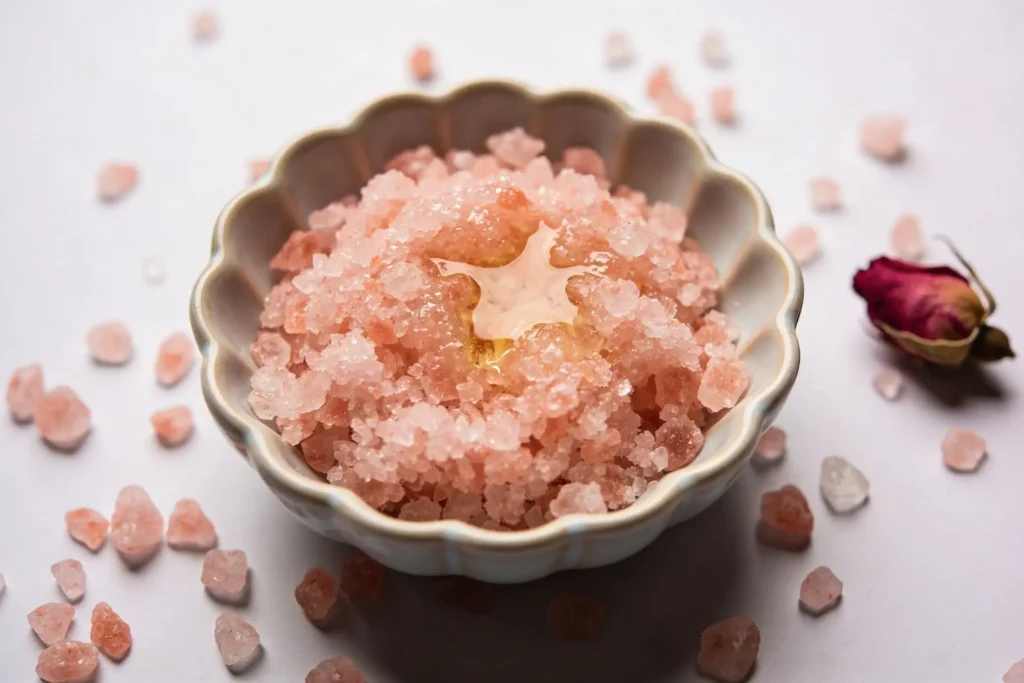
Let’s be real, you’ve seen those gorgeous pink crystals everywhere, from fancy lamps to gourmet cooking. But their true superpower, IMO, lies in skincare. We’re talking about a natural exfoliator that doesn’t just slough off dead skin but also infuses your body with incredible minerals.
The Magic of Minerals
Himalayan salt isn’t just sodium chloride; it’s packed with 84 trace minerals like magnesium, potassium, and calcium. When you scrub these beauties onto your skin, they don’t just sit there. They work their magic, helping to balance pH levels, reduce inflammation, and even improve circulation. Think of it as a nutrient boost for your largest organ!
Say Goodbye to Dullness
Ever feel like your skin has lost its sparkle? That’s usually a buildup of dead skin cells. Himalayan salt’s natural abrasive texture is perfect for gently buffing away those tired cells, revealing the fresh, radiant skin underneath. Plus, the act of scrubbing itself is incredibly invigorating, leaving you feeling refreshed and renewed, not just looking it. It’s like a mini-reset button for your entire being.
Gather Your Spa Arsenal: Ingredients & Tools
Alright, let’s get down to business. Making your own scrub is ridiculously easy, and you probably have most of what you need already. No need for a chemistry degree, just a desire for smooth skin and some serious chill.
The Star Players (Ingredients)
Here’s what you’ll need to create a roughly 8-ounce jar of pure bliss:
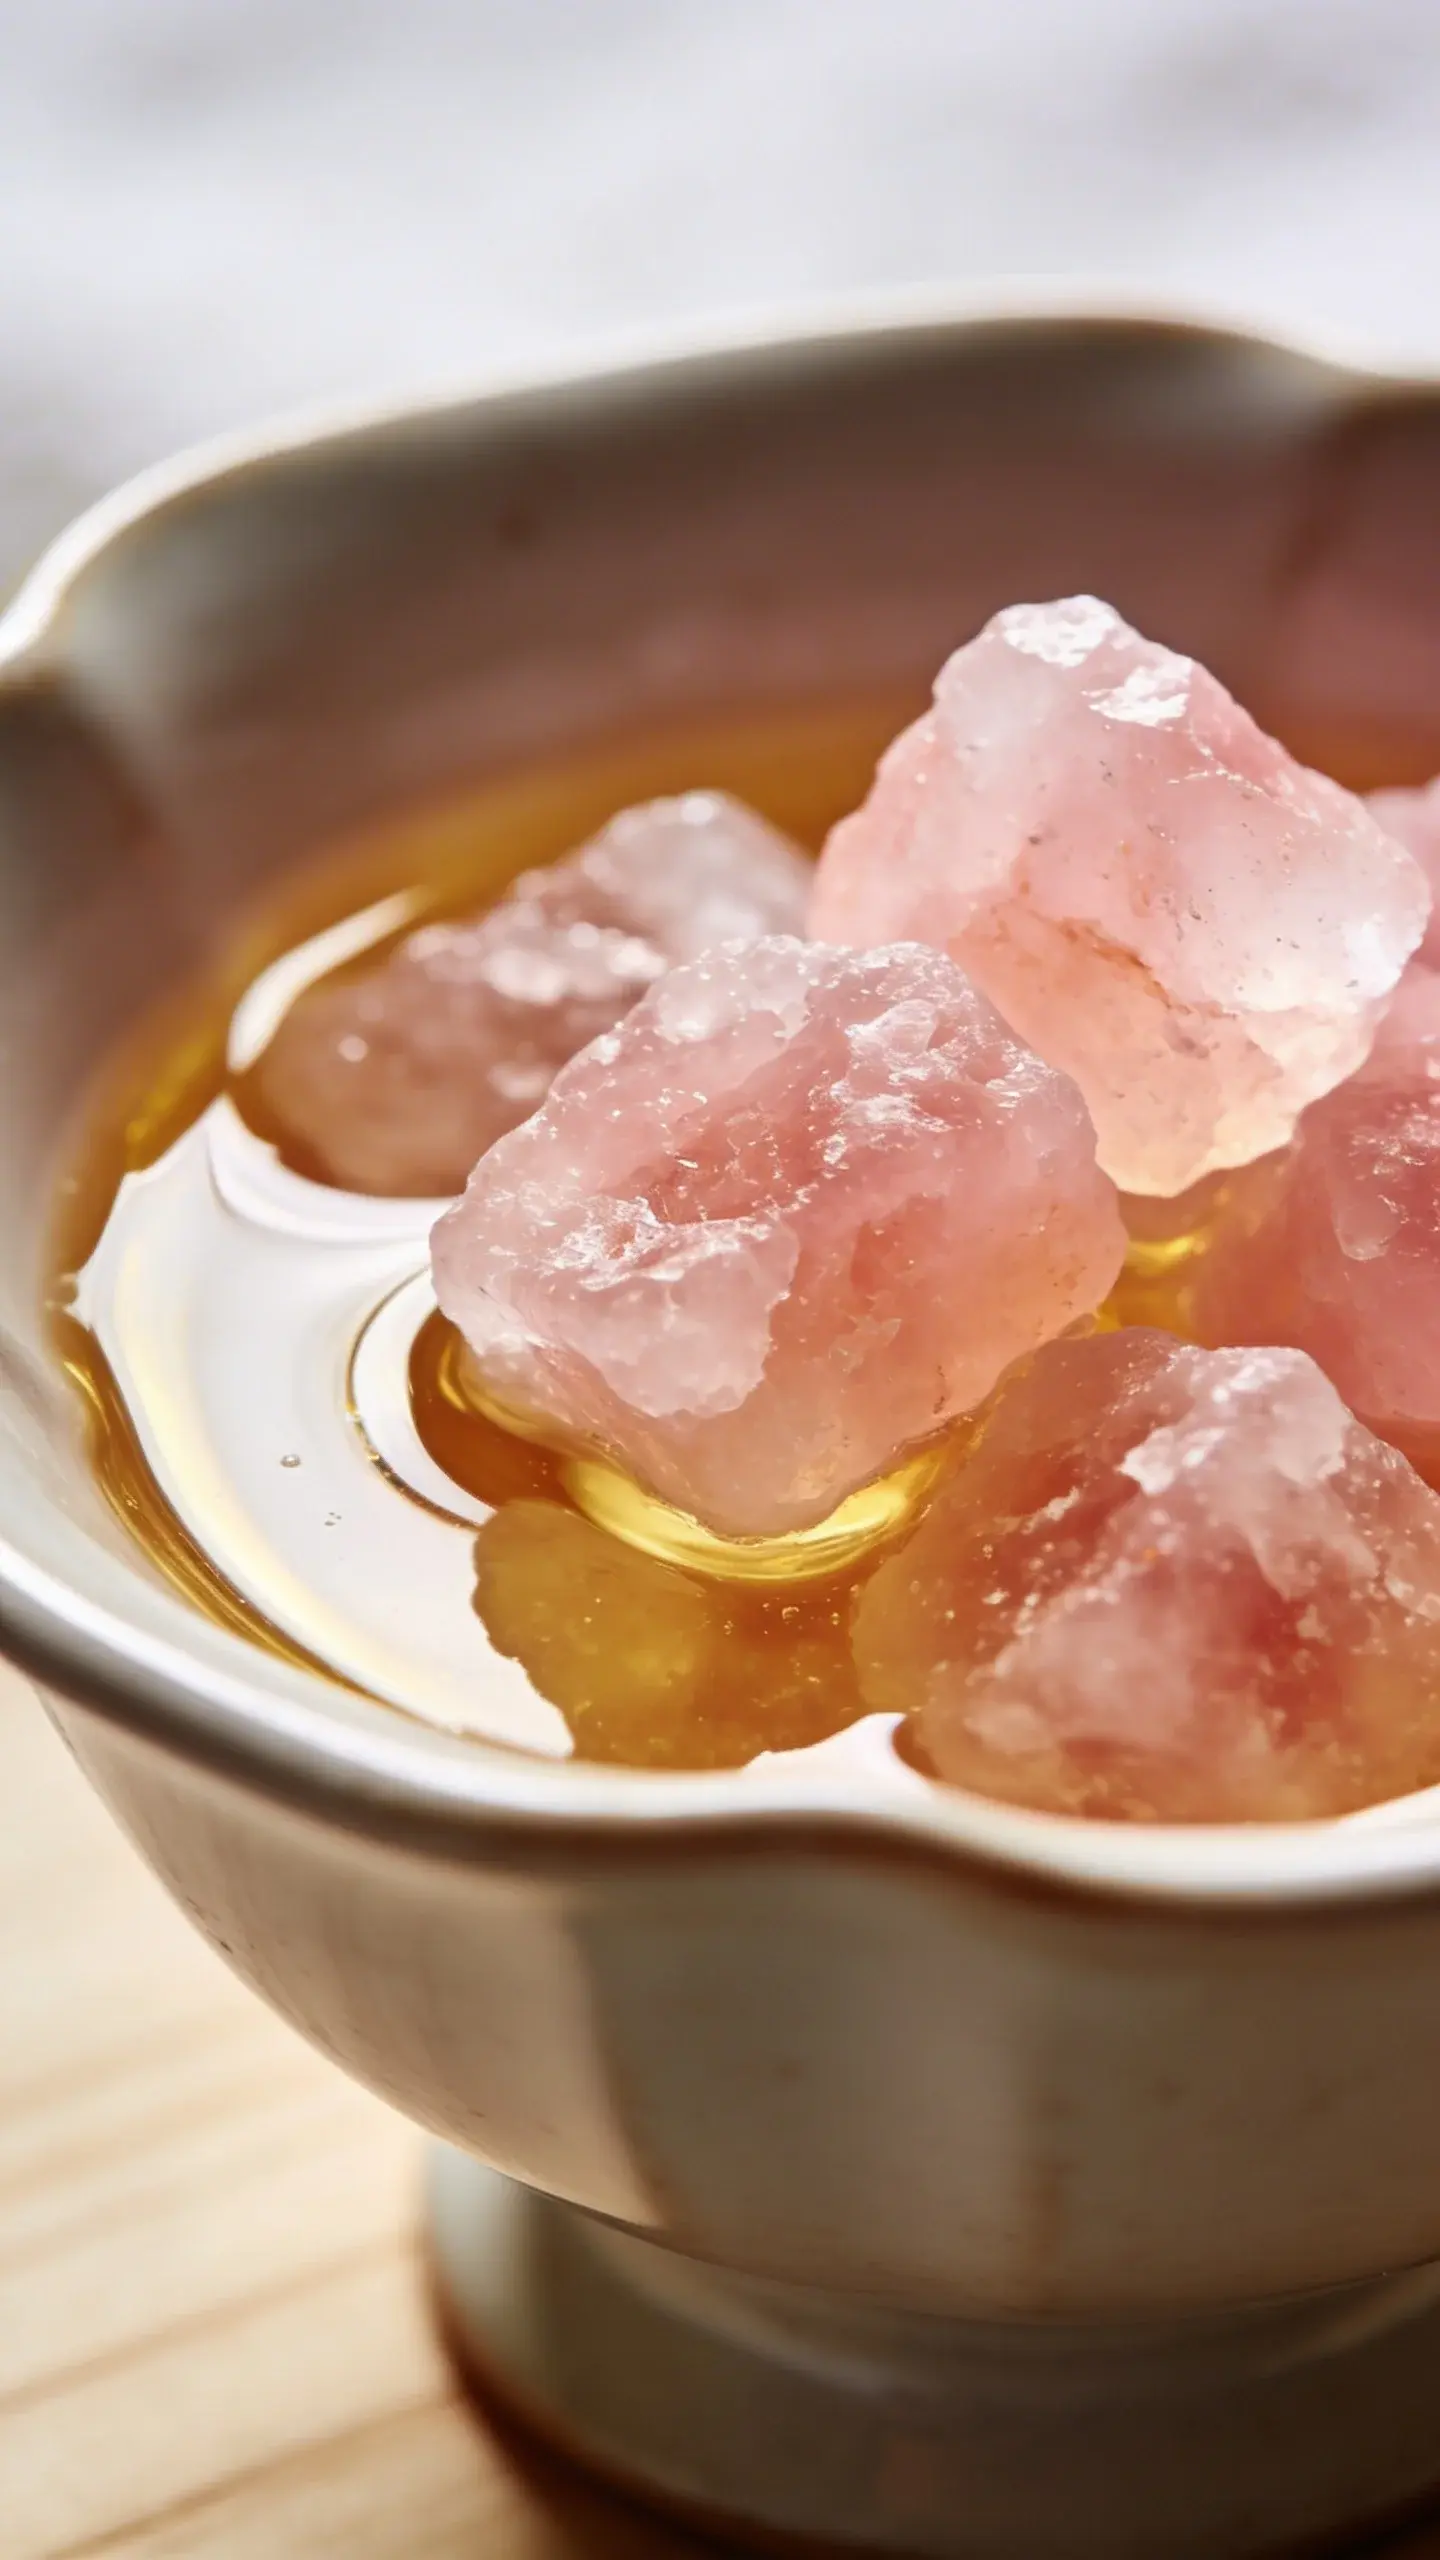
* 1 cup Fine-to-Medium Grain Himalayan Pink Salt: The star of our show! Fine grain is gentler, medium grain offers a more intense exfoliation. Choose your fighter.
* ½ cup Carrier Oil: This is your skin’s moisturizer and the base for your scrub.
* Fractionated Coconut Oil: My personal fave. It’s light, non-greasy, and absorbs beautifully. Plus, it stays liquid at room temperature, unlike regular coconut oil which can solidify and make your scrub clumpy.
* Sweet Almond Oil: A fantastic alternative, rich in Vitamin E, great for sensitive skin.
* Jojoba Oil: Mimics your skin’s natural sebum, making it excellent for all skin types.
* 10-15 drops Essential Oils: This is where the “spa vibes” truly come alive.
* Lavender: The ultimate relaxer. Perfect for an evening bath.
* Frankincense: Earthy, grounding, and amazing for skin rejuvenation.
* Bergamot: Uplifting and refreshing (use sparingly if you’ll be in direct sun afterward, as it can be photosensitizing).
* Eucalyptus or Peppermint: For a more invigorating, sinus-clearing experience.
* 1 teaspoon Vitamin E Oil (Optional, but recommended): A powerful antioxidant that nourishes skin and helps preserve your scrub.
* Dried rose petals or lavender buds (Optional): For an extra touch of visual luxury. Because why not?
Your DIY Toolkit
You won’t need anything fancy here, promise.
* A clean mixing bowl: Glass or ceramic works best.
* A spoon or spatula: For mixing.
* An airtight container: A glass jar with a lid (like a Mason jar) is perfect for storage. Make sure it’s clean and dry!
Whip It Up! Your Step-by-Step Recipe
Ready to get mixing? This is the fun part, where you transform simple ingredients into a luxurious skin treatment. It’s so easy, you’ll wonder why you ever bought a scrub from the store.
The Mixing Method
Follow these steps, and you’ll have your scrub ready in minutes:
1. Measure your salt: Pour 1 cup of Himalayan pink salt into your mixing bowl.
2. Add your carrier oil: Slowly pour in ½ cup of your chosen carrier oil (fractionated coconut, almond, or jojoba). Stir gently with your spoon or spatula. You want a consistency that’s moist but not swimming in oil. If it looks too dry, add a tiny bit more oil, a tablespoon at a time, until it’s just right.
3. Introduce your essential oils: Add 10-15 drops of your favorite essential oils. Start with 10, mix, then sniff. Want more oomph? Add a few more drops. Remember, a little goes a long way.
4. Stir in optional extras: If using, add 1 teaspoon of Vitamin E oil and any dried botanicals like rose petals or lavender buds. Stir everything until it’s well combined and smells absolutely divine.
5. Transfer to your container: Carefully spoon your freshly made scrub into your clean, airtight jar. Seal it up, and admire your handiwork!
Pro-Tips for Perfection
* Patch Test: Always do a small patch test on your skin (e.g., inner arm) before full application, especially if you have sensitive skin or are new to essential oils.
* Consistency is Key: If your scrub seems too oily, add a tiny bit more salt. Too dry? A splash more oil. You want a thick, spreadable paste.
* Label It: Trust me, you’ll forget what’s in there or when you made it. A simple label with the date and ingredients is super helpful.
* Gift It! This scrub makes an *amazing* homemade gift. Just tie a pretty ribbon around the jar, and boom – thoughtful, luxurious present.
How to Use Your Scrub for Maximum Zen
Making the scrub is only half the fun. Now comes the best part: using it! To truly unlock its potential for smooth skin and spa vibes, proper application is key.
Shower or Bath?
This scrub works beautifully in both.
* In the shower: After you’ve washed your body, turn off the water or step away from the direct spray.
* In the bath: Use it before you fully soak, or as a pre-bath treatment to soften skin.
The Application Technique
1. Wet your skin: Your skin should be damp, not soaking wet. This helps the scrub spread easily and prevents irritation.
2. Scoop it out: Take a small amount of scrub (about a tablespoon) into your hand.
3. Gently massage: Starting from your feet and working your way up, apply the scrub to your body in gentle, circular motions. Pay extra attention to rougher areas like elbows, knees, and heels. Avoid sensitive areas and broken skin.
4. Don’t overdo it: You’re aiming for exfoliation, not a deep-tissue massage with sandpaper. Be gentle! The salt does the work.
Rinse & Revel
Once you’ve scrubbed your entire body (or specific areas), rinse thoroughly with warm water. You’ll immediately feel the difference – your skin will be incredibly soft and moisturized, thanks to the carrier oil. Pat your skin dry with a soft towel, and bask in the glow. No need for lotion afterward unless you want an extra layer of hydration!
Customization Station: Make It Yours!
The beauty of DIY is that you’re the boss. Don’t feel limited by my suggestions! This recipe is a fantastic base, but you can totally tweak it to suit your skin type, mood, or even the season.
Essential Oil Swaps
* For an energizing boost: Try lemon, grapefruit, or sweet orange essential oils. Perfect for a morning shower!
* For muscle relief: Peppermint, rosemary, or marjoram can feel amazing after a workout.
* For skin clarity: Tea tree oil (use sparingly and dilute well) can be beneficial for blemish-prone areas on the body.
Oil Base Alternatives
* Olive Oil: A pantry staple, very moisturizing, but can be a bit heavier on the skin.
* Grapeseed Oil: Lightweight and great for oily or acne-prone skin.
* Apricot Kernel Oil: Similar to almond oil, it’s easily absorbed and nourishing.
Remember to always consider the properties of the oils you choose and how they interact with your skin. FYI, some citrus oils can increase sun sensitivity, so use them with caution before sun exposure!
FAQ
Got questions? I’ve got answers. Let’s clear up any lingering thoughts about your new favorite scrub.
How often should I use this scrub?
Generally, 1-2 times a week is plenty for most skin types. Over-exfoliating can strip your skin of its natural oils and cause irritation. Listen to your skin – it’ll tell you what it needs!
Can I use this on my face?
I wouldn’t recommend it. Himalayan salt grains, even fine ones, can be too harsh for the delicate skin on your face. Stick to gentler exfoliants specifically designed for facial use. This scrub is a body-only party!
How long does it last?
Stored in an airtight container in a cool, dry place, your scrub should last about 3-6 months. The Vitamin E oil helps with preservation. If you notice any changes in smell, color, or texture, it’s probably time to whip up a fresh batch. Always use clean, dry hands or a spoon to scoop out the scrub to avoid introducing water or bacteria.
What if I don’t have Himalayan salt?
No worries! You can absolutely substitute with other salts. Epsom salt is another fantastic option, known for its muscle-relaxing properties. Sea salt works too, though it might be a bit coarser depending on the grind. The key is finding a good quality, natural salt.
Conclusion
So there you have it: your ticket to unbelievably smooth skin and a little slice of spa heaven, all created by your own two hands. Making your DIY Himalayan salt scrub isn’t just about skincare; it’s about carving out a moment for yourself, indulging in a little self-love, and feeling utterly amazing. Go on, treat yourself. Your skin (and your stress levels) will thank you.