You know what’s wild? One of the most effective exfoliating ingredients for your skin is probably sitting in your kitchen pantry right now. Rice flour has been a beauty secret in Asia for literally centuries, and honestly, we’ve all been sleeping on it. Mix it up into a simple bath scrub, and you’ve got yourself a gentle exfoliator that’ll leave your skin looking like you just stepped out of an expensive spa.
Why Rice Flour Is Your Skin’s New Best Friend
Rice flour isn’t just for making delicious desserts (though let’s be real, mochi is amazing). This fine powder works magic on your skin because it’s packed with vitamins, minerals, and antioxidants that your skin absolutely craves. Unlike those harsh commercial scrubs with plastic microbeads or jagged walnut shells, rice flour offers the gentlest exfoliation you can imagine.
The texture is super fine, which means it buffs away dead skin cells without tearing up your skin barrier. Think of it as the difference between using sandpaper and a silk cloth—both can smooth things out, but only one does it without causing damage.
Plus, rice flour contains something called ferulic acid (fancy, right?). This antioxidant helps brighten your skin tone and fight off those pesky free radicals that age your skin. It’s also loaded with B vitamins and vitamin E, which means you’re not just exfoliating—you’re actually nourishing your skin at the same time.
Ingredients and Instructions
Ready to whip up this skin-transforming scrub? The recipe is ridiculously simple, and you probably have most of these ingredients already.
What You’ll Need
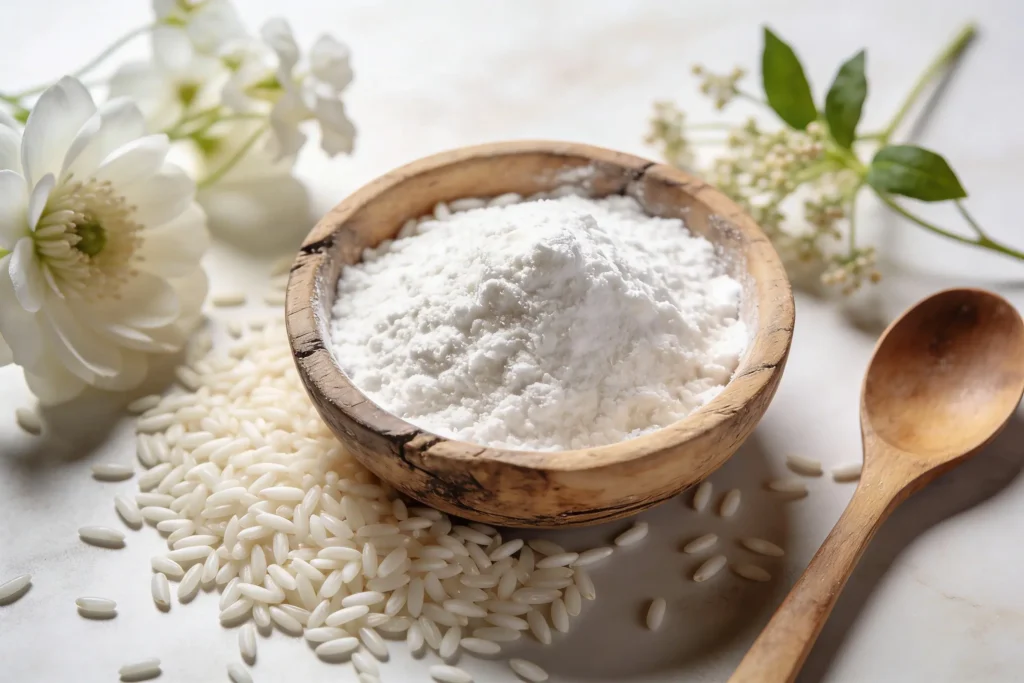
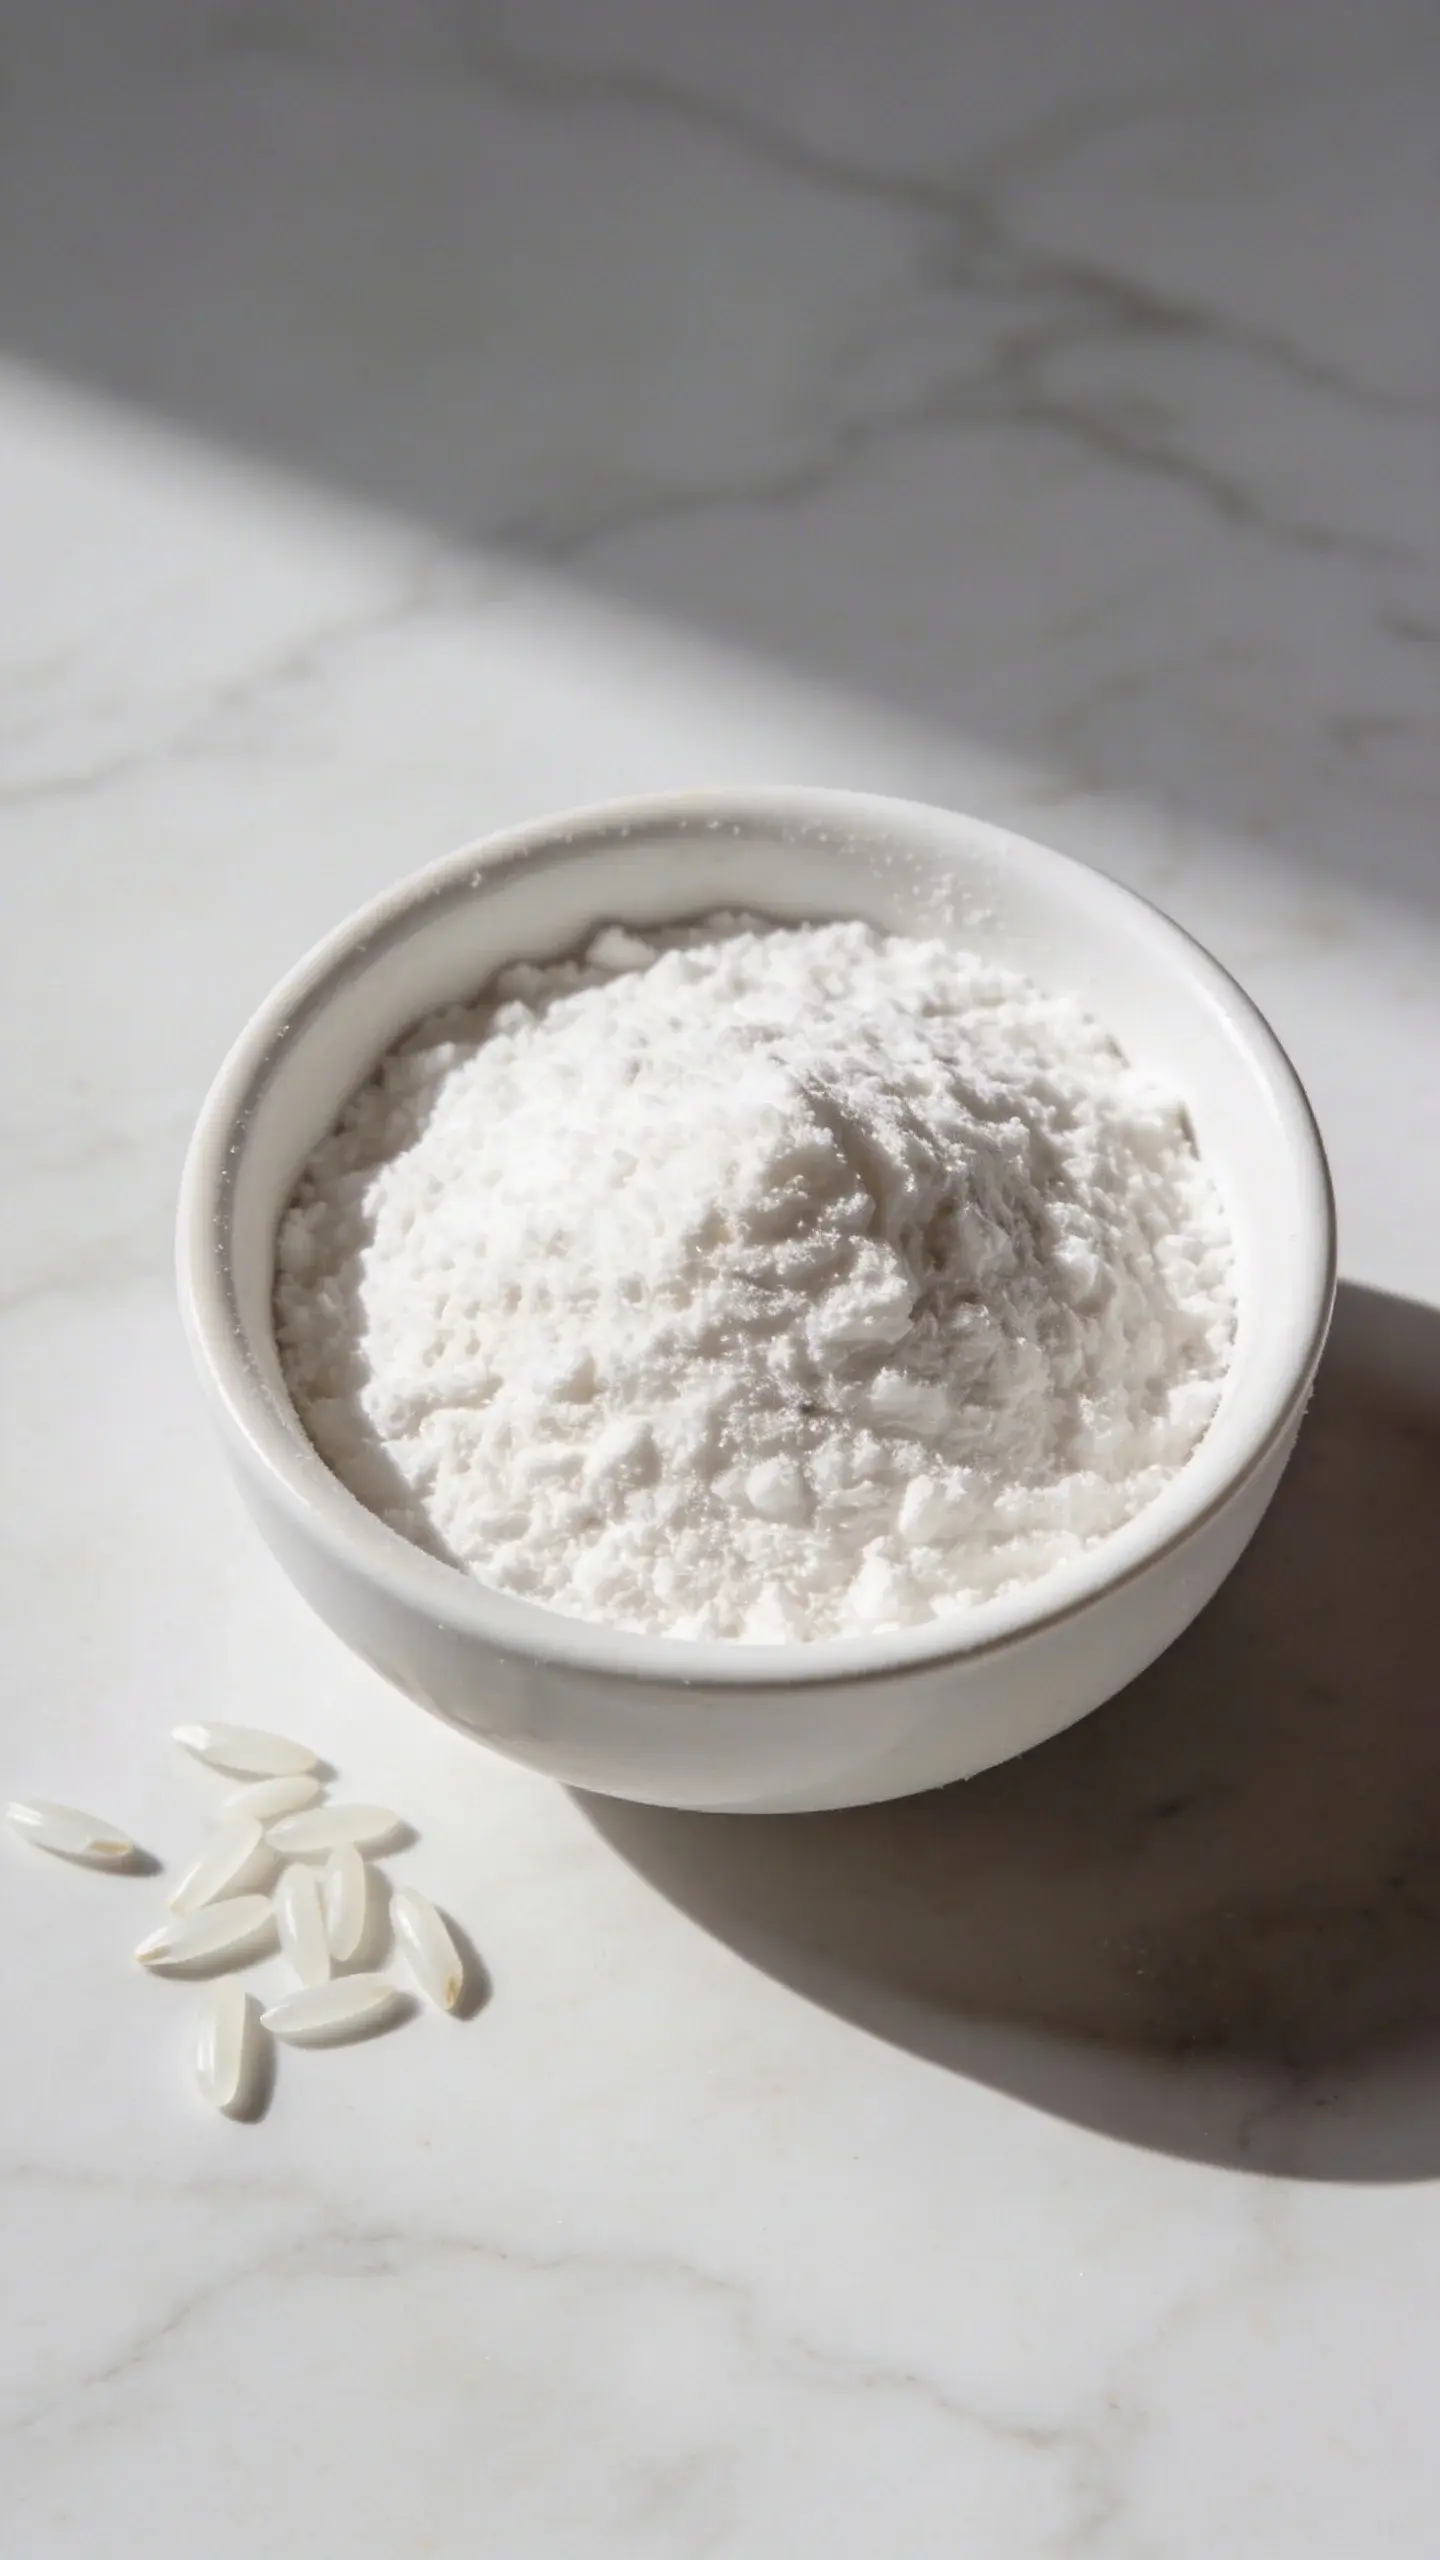
- 1/2 cup rice flour (white or brown rice flour both work great)
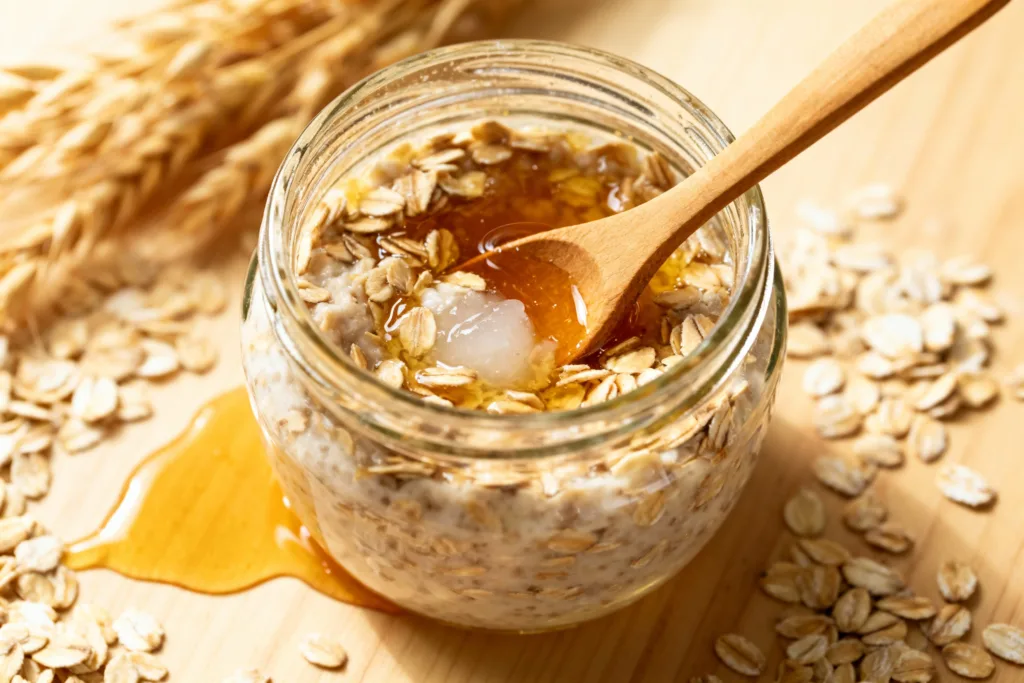
- 2 tablespoons honey (raw honey is ideal, but any type works)
- 2 tablespoons whole milk or yogurt (use coconut milk if you’re dairy-free)
- 1 tablespoon sweet almond oil or coconut oil
- 5-6 drops lavender essential oil (optional, but it smells amazing)
- A mixing bowl and spoon
- An airtight container for storage
How to Make It
- Dump your rice flour into the mixing bowl. Make sure there aren’t any lumps—if you see any, break them up with your fingers.
- Add the honey and milk (or yogurt). The honey acts as a natural humectant, which basically means it’ll help your skin hold onto moisture.
- Pour in your oil of choice. This keeps the scrub from being too drying and helps everything blend smoothly.
- If you’re using essential oils, add them now. Lavender is calming and great for sensitive skin, but you could also try rose or chamomile.
- Mix everything together until you get a thick, paste-like consistency. It should look kind of like wet sand.
- Transfer your scrub to an airtight container. A small mason jar works perfectly for this.
The whole process takes maybe five minutes, tops. Store your scrub in the fridge, and it’ll stay fresh for about two weeks.
How to Use Your Rice Flour Bath Scrub
Using this scrub is honestly the easiest part of the whole process. Jump in the shower or bath and get your skin nice and wet with warm water. The warmth opens up your pores, which makes the exfoliation way more effective.
Scoop out about a tablespoon of the scrub and apply it to damp skin. Start with gentle circular motions—and I mean gentle. You’re not trying to scrub off a layer of skin here; you’re just encouraging those dead cells to peace out.
Pay special attention to rough patches like elbows, knees, and heels. These areas tend to get extra crusty (sorry, but it’s true), so they can handle a bit more scrubbing action. Your face can use this scrub too, but be extra gentle there. Facial skin is delicate, so treat it like the precious thing it is.
Let the scrub sit on your skin for about 2-3 minutes before rinsing. This gives all those beneficial ingredients time to actually penetrate your skin instead of just sitting on top. Rinse thoroughly with lukewarm water, then pat yourself dry.
The Glow-Up Timeline: What to Expect
Let’s get real about expectations here. This isn’t Photoshop in a jar—you won’t look like a completely different person after one use. But you WILL notice your skin feels incredibly soft and smooth immediately after using it.
After your first application, your skin will feel baby-soft and look slightly brighter. It’s like turning up the contrast on your natural skin tone just a notch. Keep using it twice a week, and within about two weeks, you’ll start seeing more dramatic results.
By week four, most people notice:
- Significantly brighter, more even skin tone
- Reduced appearance of dark spots and hyperpigmentation
- Smoother texture overall
- Better absorption of moisturizers and body lotions
- That “polished” look that’s hard to describe but impossible to miss
The key is consistency. Use it regularly, but don’t go overboard. Over-exfoliating is a real thing, and it’ll just irritate your skin.
Customizing Your Scrub for Different Skin Types
For Dry Skin
If your skin drinks up moisture like a desert, add an extra tablespoon of oil to your base recipe. You can also swap the milk for full-fat Greek yogurt, which is super creamy and moisturizing. Avocado oil is another excellent addition for seriously parched skin.
For Oily or Acne-Prone Skin
Replace the milk with plain yogurt, which contains lactic acid that helps control oil production. Add a teaspoon of tea tree oil (in addition to or instead of lavender) for its antibacterial properties. You could also throw in a pinch of turmeric for extra anti-inflammatory benefits—just know it might temporarily tint your skin yellow.
For Sensitive Skin
Stick with the base recipe but use oat milk instead of regular milk. Oats are incredibly soothing for sensitive skin. Skip the essential oils entirely or use just one drop of chamomile oil. Also, you might want to use this scrub just once a week instead of twice.
Pro Tips for Maximum Glow
Want to level up your rice flour scrub game? Here are some insider tricks that’ll take your results from good to amazing.
Prep your skin properly. Take a warm shower before using the scrub, or better yet, use it during your bath. The steam and warmth make your skin more receptive to exfoliation and all those beneficial ingredients.
After you rinse off the scrub, do a quick cool water rinse. I know, I know—cold water sucks. But it closes your pores and helps lock in all that goodness you just applied. Just do it for like 10 seconds. You’ll survive, I promise.
Follow up immediately with a good moisturizer while your skin is still slightly damp. This is when your skin is most absorbent, so don’t waste that window. FYI, natural oils like jojoba or rosehip oil work incredibly well post-scrub.
Don’t forget to exfoliate your hands too! They go through so much daily abuse, and they’ll absolutely love this treatment. Plus, it’s a great way to use up any scrub that’s left on your fingers.
Frequently Asked Questions
Can I use this scrub on my face?
Absolutely! Rice flour is gentle enough for facial skin, but you’ll want to be extra careful. Use lighter pressure than you would on your body, and avoid the delicate eye area completely. If you have active acne or open wounds, skip those spots. Use it on your face once a week max—facial skin doesn’t need as much exfoliation as body skin.
How long does this scrub last?
Because this recipe contains fresh ingredients like milk and honey, it’ll last about two weeks in the fridge. Always use a clean spoon to scoop it out (no dipping dirty fingers in there), and if you notice any weird smell or discoloration, toss it. Better safe than sorry when it comes to skincare.
Can I make a larger batch?
You could, but I wouldn’t recommend it. Fresh is always better when it comes to DIY skincare. The ingredients are cheap and the recipe is quick, so just make a new batch every couple of weeks. Trust me, the freshness factor makes a difference in how effective it is.
Will this work on keratosis pilaris (chicken skin)?
Yes! Rice flour scrub can definitely help with those annoying bumps. The gentle exfoliation helps remove the buildup of dead skin cells that causes KP. Use it consistently on affected areas 2-3 times per week. Just remember that KP is stubborn, so you’ll need to be patient and consistent.
Is brown rice flour better than white rice flour?
Brown rice flour has slightly more nutrients because it includes the bran, but honestly? Both work great for this scrub. White rice flour is a bit finer, which some people prefer for facial exfoliation. IMO, use whatever you have on hand—the difference isn’t huge.
Can I add other ingredients to this recipe?
Totally! This base recipe is super versatile. Popular additions include matcha powder (antioxidants!), rose water instead of milk (smells divine), ground oats (extra soothing), or a bit of lemon juice for extra brightening. Just don’t go too crazy—sometimes simple is better.
Conclusion
Creating your own rice flour bath scrub is one of those rare beauty DIYs that’s actually worth the (minimal) effort. You get a gentle, effective exfoliator that brightens, smooths, and polishes your skin without any harsh chemicals or weird ingredients you can’t pronounce. Plus, there’s something weirdly satisfying about making your own skincare products, knowing exactly what you’re putting on your body.
Give it a few weeks of consistent use, and I bet you’ll be hooked. Your skin will look brighter, feel softer, and have that healthy glow that no highlighter can quite replicate. And the best part? You’ll have spent less than ten bucks on a product that works just as well (if not better) than those fancy scrubs at department stores. Now that’s what I call a beauty win.